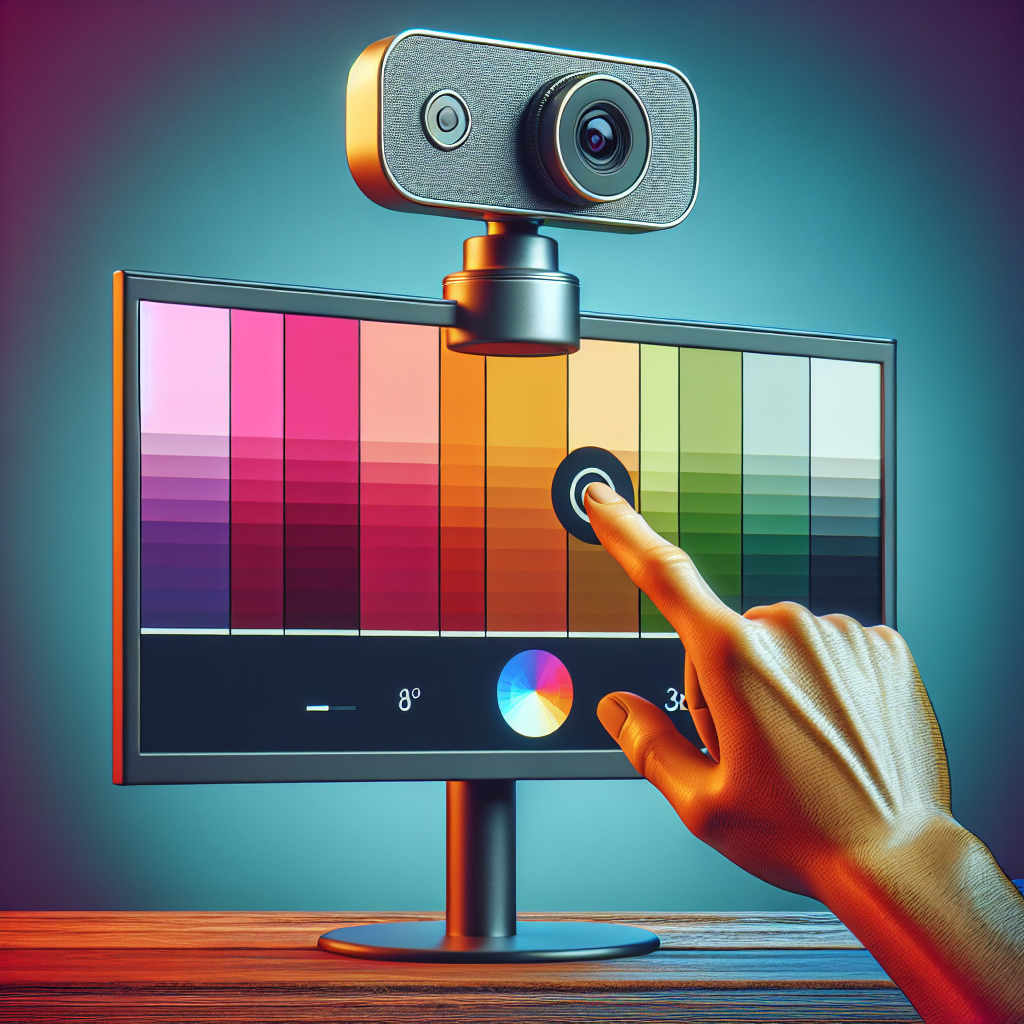
In the era of remote work and virtual meetings, having a properly set up webcam has become essential. One critical aspect of ensuring high-quality video is adjusting the white balance of your webcam. White balance is a setting that allows your camera to adjust colors so that the image looks natural in different lighting conditions. This article will dive deep into adjusting the white balance of your webcam and why it’s so important for your virtual presence.
Understanding White Balance
White balance affects the color temperature of your images and videos. It ensures that whites appear white and that other colors are rendered accurately. Here is a comparison of color temperatures in different lighting scenarios:
| Lighting Condition | Color Temperature (Kelvin) |
|---|---|
| Candlelight | 1,000 – 2,000 |
| Household Tungsten Bulbs | 2,500 – 3,500 |
| Sunrise/Sunset | 3,000 – 4,000 |
| Fluorescent Lights | 4,000 – 5,000 |
| Midday Sun | 5,000 – 6,000 |
| Cloudy Sky | 6,000 – 8,000 |
| Shade or Overcast | 8,000 – 10,000 |
Why Adjust White Balance?
Adjusting the white balance ensures that your video recordings and calls have natural colors. An improperly set white balance can make you look too orange, blue, or washed out. By correctly adjusting this setting, you can present yourself in the best light (literally).
Methods to Adjust White Balance
There are multiple methods to adjust the white balance of your webcam:
- Automatic White Balance (AWB): Most webcams come with an automatic white balance feature that adjusts the color temperature based on the lighting conditions.
- Manual White Balance: Some advanced webcams offer manual white balance control, allowing you to tweak the settings to your preference.
- Software Solutions: Various software applications allow for white balance adjustment. These can offer more fine-tuned control compared to the automatic settings.
Adjusting in Webcam Settings
Many webcams come with dedicated software or settings that include white balance adjustments. Here are the steps:
- Logitech: Open the Logitech Camera Settings application and navigate to the ‘Advanced’ tab. Use the slider to manually adjust the white balance.
- Microsoft: Launch the Windows Camera app, click on the settings gear icon, and adjust the white balance from the menu.
- Razer: Open Razer Synapse, select your webcam, and navigate to the ‘Camera Controls’ to adjust the white balance.
Using Third-Party Software
If your webcam software doesn’t allow for white balance adjustments, you can use third-party software:
- OBS Studio: A popular option for streaming and recording. Go to the video capture device properties and adjust the white balance.
- ManyCam: A versatile webcam software that offers a wide range of adjustment settings, including white balance.
Troubleshooting White Balance Issues
If you encounter issues with white balance, try the following troubleshooting tips:
- Check Your Lighting: Poor lighting can impact white balance settings. Ensure you have adequate and even lighting.
- Update Drivers: Ensure your webcam drivers are up-to-date to avoid software glitches.
- Reset to Default: Sometimes, resetting your webcam settings to default and readjusting can solve the issue.
Conclusion
Adjusting the white balance of your webcam is crucial for achieving natural, professional-quality video. Whether you use built-in tools, third-party software, or hardware settings, making these adjustments can significantly improve your virtual presence. By understanding and applying these techniques, you can ensure that you always look your best on camera.
